
In my previous post, I talked about my love for the note-taking app Obsidian and why it’s perfect for my AuDHD brain. Obsidian can be a little overwhelming to use at first, so here’s a guide on how to get started!
Create a vault
After downloading and installing the app, the first thing to do is to create a vault.
A vault is a folder where all your notes will be saved. You can either create a new empty vault or use an existing folder.
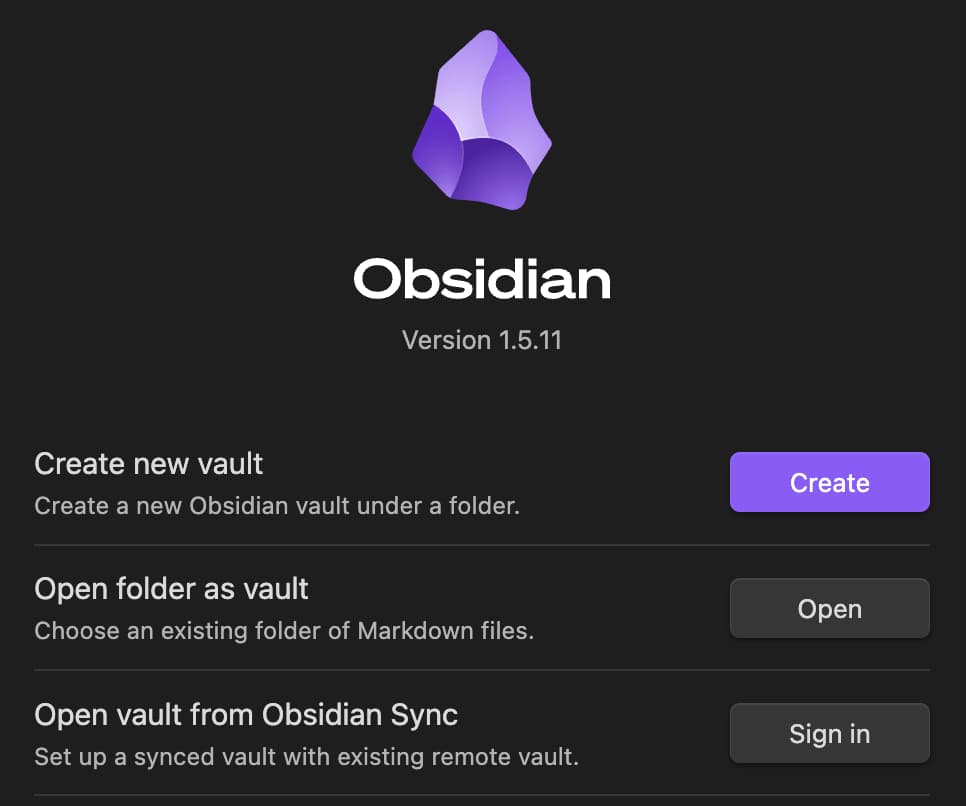
If you’d like to access your notes on more than one device, you can sync your vault with a cloud storage service such as iCloud.
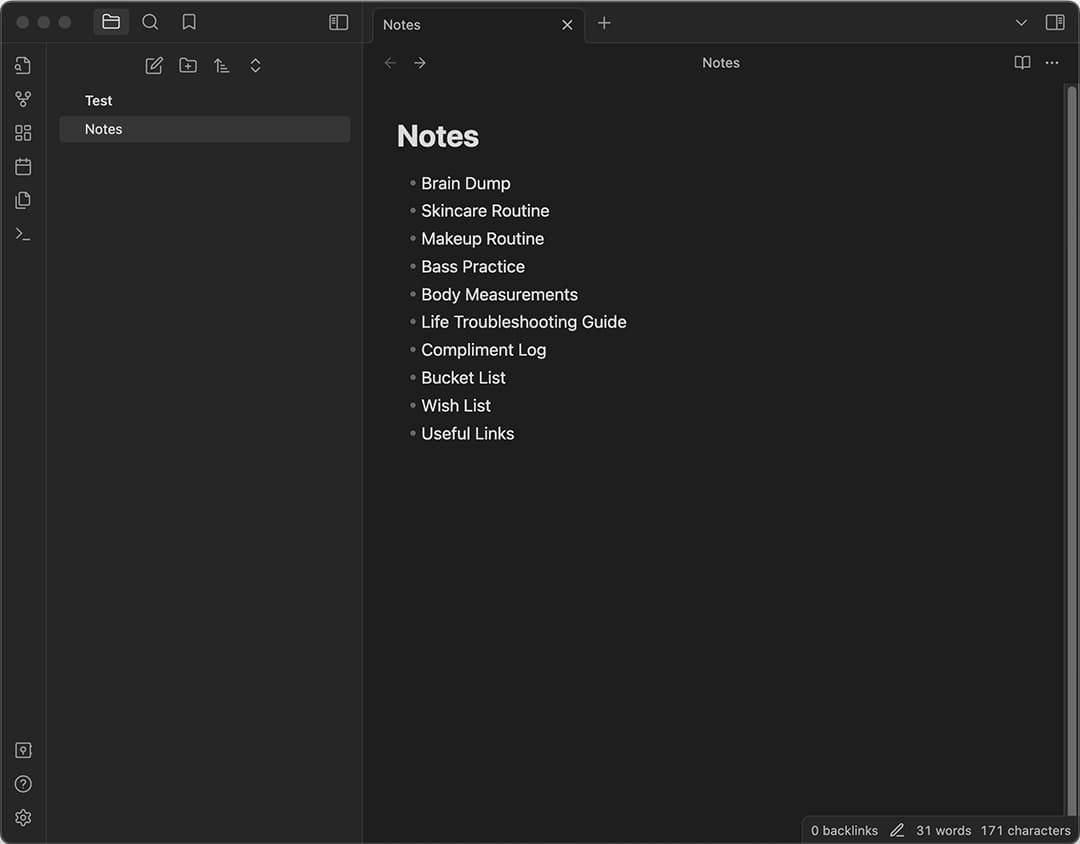
Create your first note
For your very first note, I’d suggest writing a list of notes you’d like to keep in this vault (check out my previous post for some ideas).
Linking notes
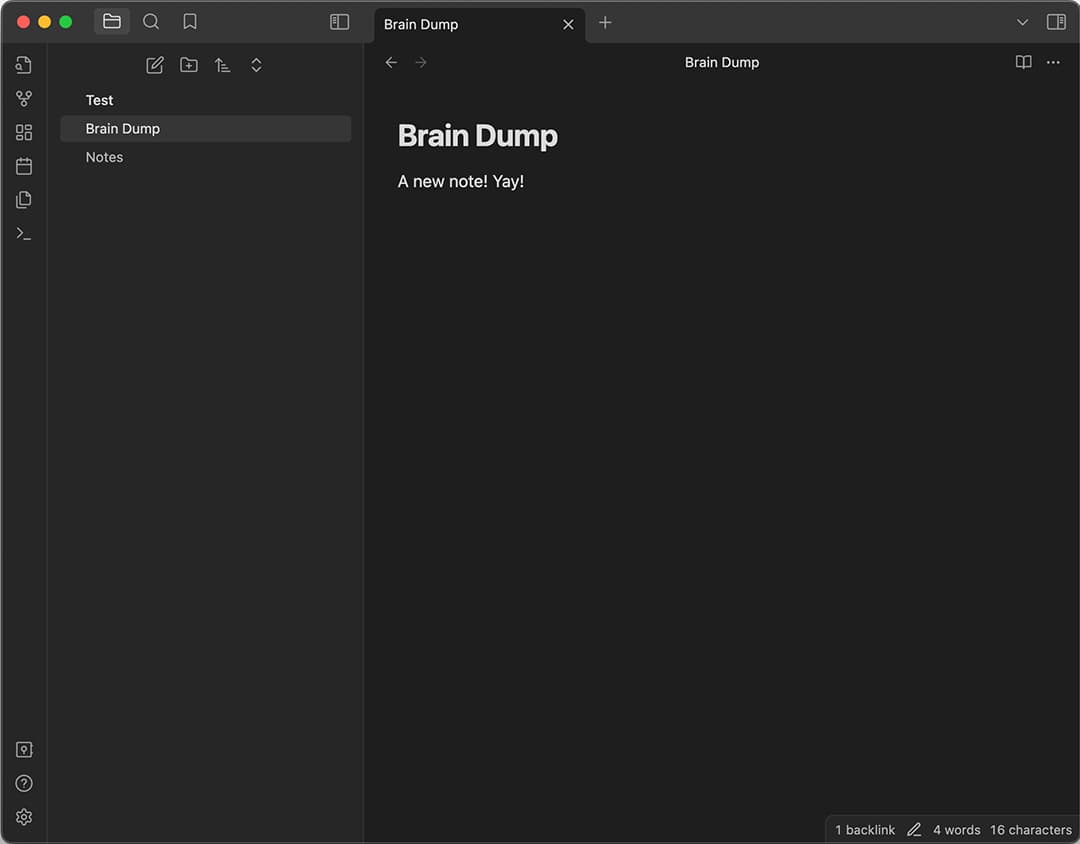
To create new linked notes from your list, enclose each item on your list in double square brackets, [[like this]].
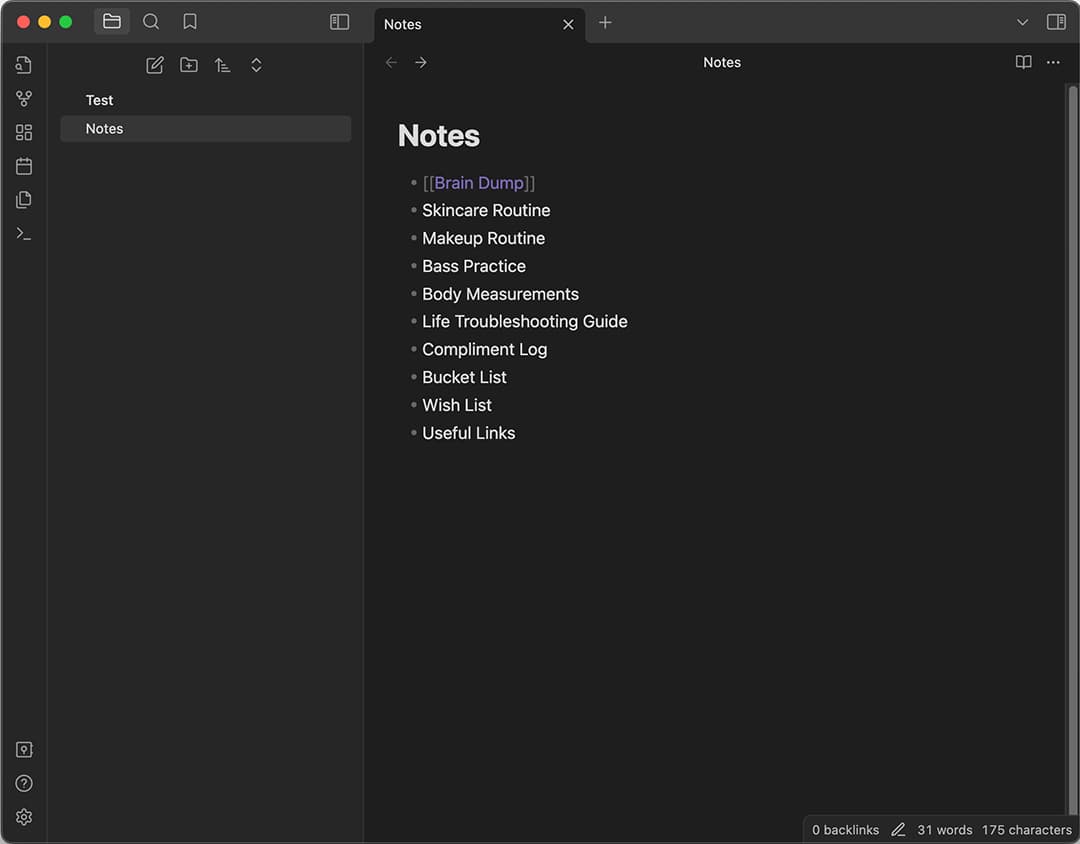
After adding double square brackets to all your list items, try clicking on any one of them. It’ll automatically create a new note!
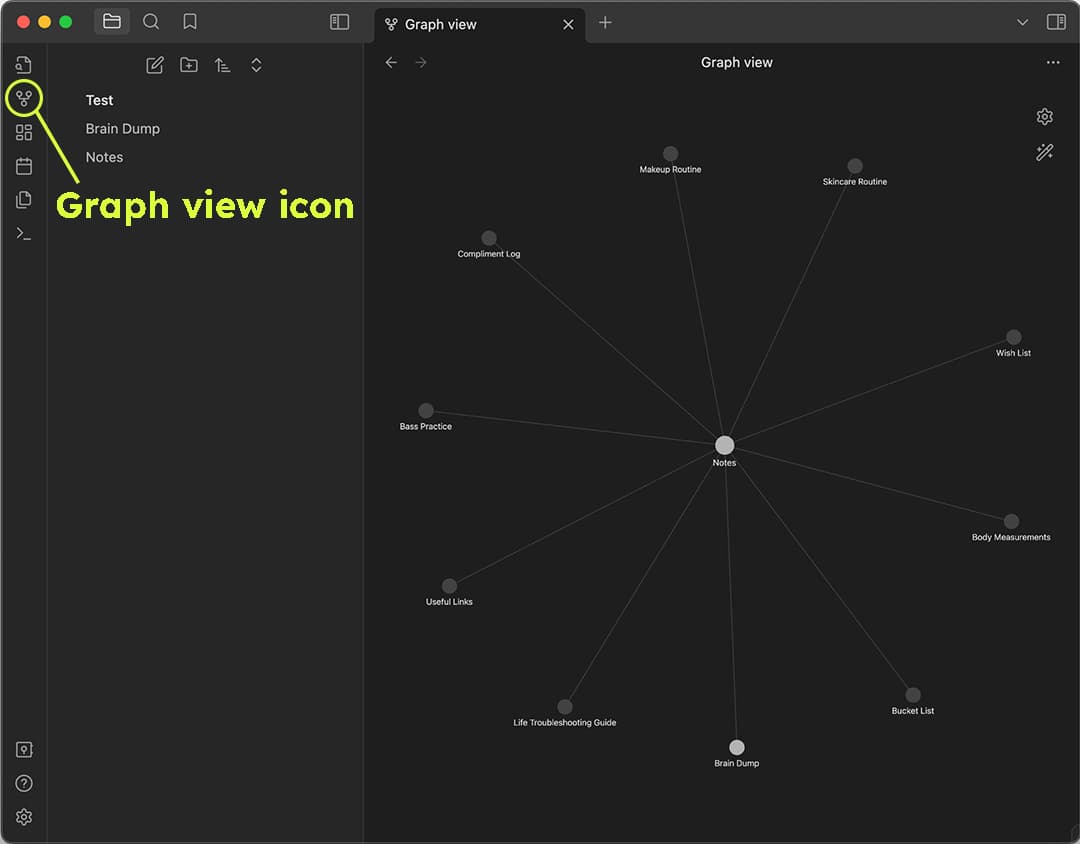
You can see a visual representation of how your notes are linked together by clicking on the “Open graph view” icon (second icon in the left corner).
Formatting
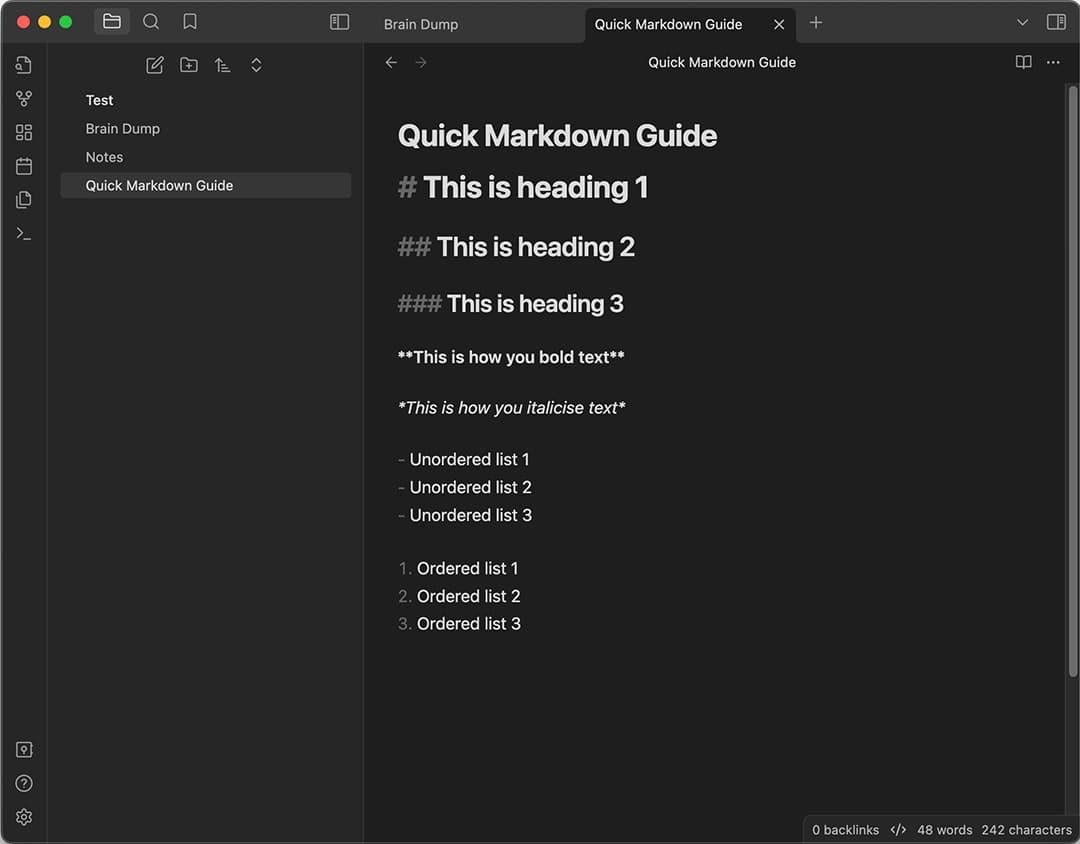
Obsidian uses the Markdown syntax for formatting. If you’re unfamiliar with Markdown, you can refer to this guide.
Images
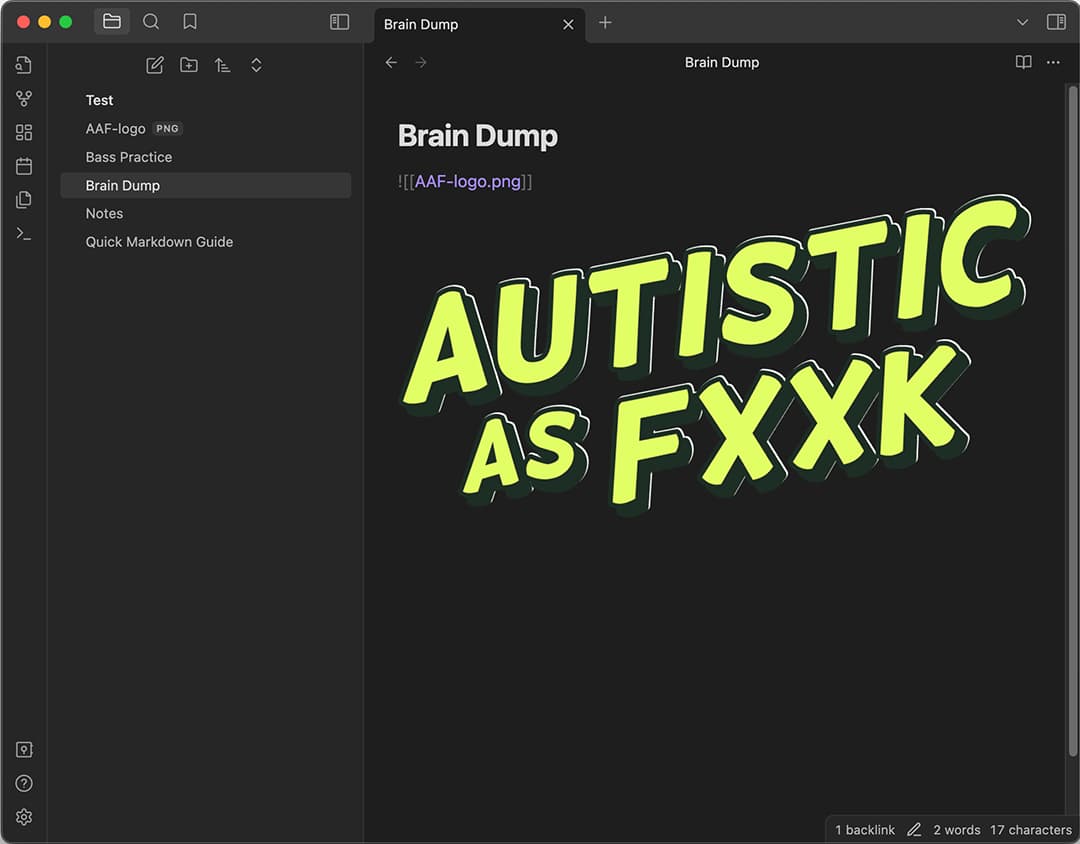
To insert an image, simply drag and drop an image file into your note or type ![[path/to/image.jpg]] to embed an image.
If you need a tool to visualise concepts and illustrate ideas, check out the Excalidraw plugin. This plugin enables you to create diagrams and sketches directly within Obsidian.
Obsidian’s Canvas plugin also allows you to lay out your notes and other resources visually on an infinite canvas. Perfect for visual thinkers!
Tags
You can add tags in your notes to categorise and organise them.
To add tags, simply use hashtags #LikeThis. You can then use these tags to filter and search for related notes easily.

Plugins & themes
There are tons of plugins and themes available for Obsidian, allowing you to customise the app to suit your needs.
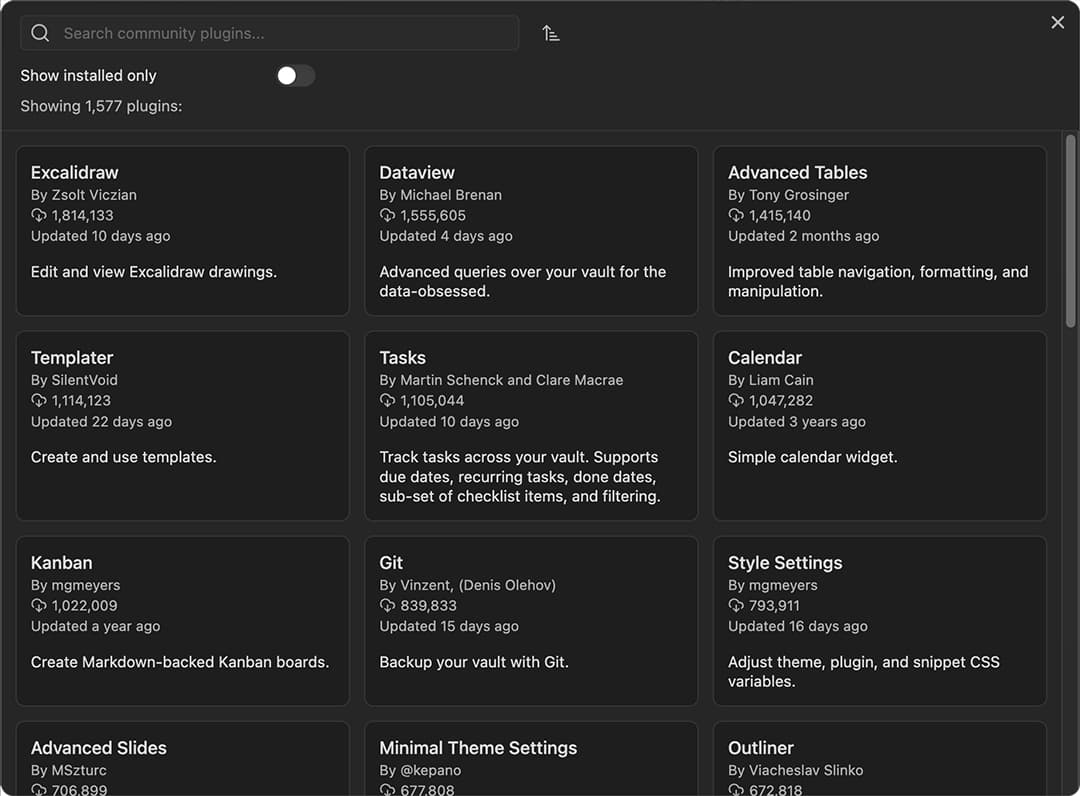
To install plugins and themes in Obsidian, click on the Settings icon in the bottom left corner. From there, go to the “Core plugins”, “Community plugins” (turn off Restricted Mode to enable community plugins) or “Appearance” section to browse available options. You can search for specific plugins or themes and install them with just a few clicks.
My tips
- Keep it simple when you’re just starting out. Familiarise yourself with the basics (note linking, markdown formatting, navigating the app) before diving into other features such as plugins.
- Don’t install too many plugins at once! Try out one at a time to see if it’s useful to you. You could also create another vault just for experimenting with plugins before using them in your main vault, so you don’t accidentally mess up your notes.
- Embrace the flexible and bottom-up approach of Obsidian and allow your note-taking system to evolve organically. Don’t force yourself to adhere to any strict organisation system. If something isn’t working for you, try something else!
- Create templates for recurring note types (e.g. daily notes, project notes)
- Don’t forget to back up your notes regularly!
Resources
Obsidian
- Obsidian Help
- Obsidian Resources
- Obsidian Rocks
- Obsidian Hub
- Awesome Obsidian
- Obsidian Discord
- Obsidian Forum
- Obsidian Subreddit
Note-taking methodologies & frameworks
(Note-taking is one of my special interests, in case you couldn’t already tell!)